Our work
Before, after, and the bit in the middle that decides both
What you are looking at
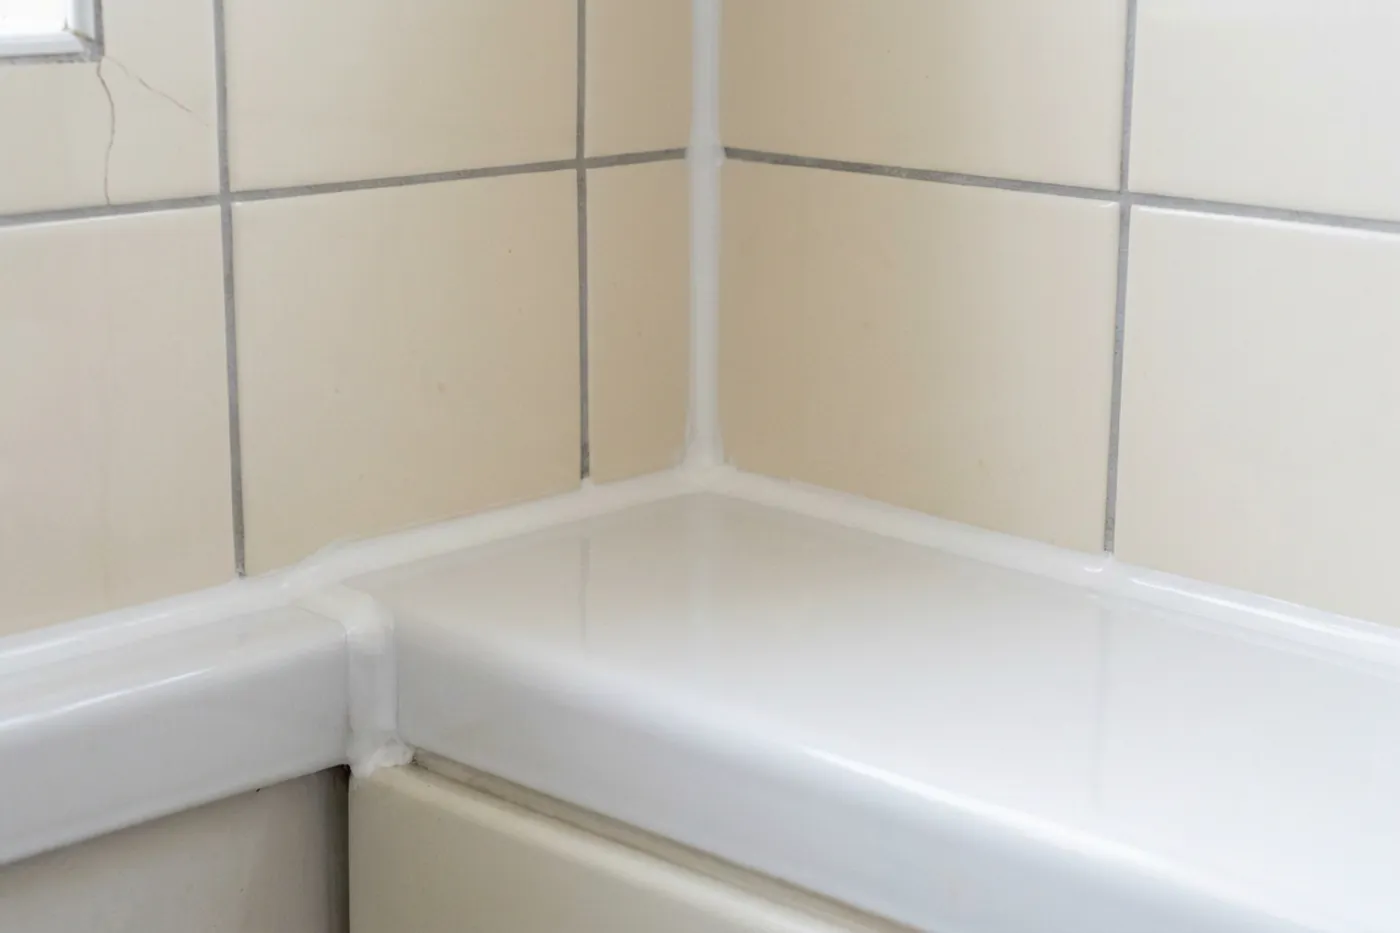
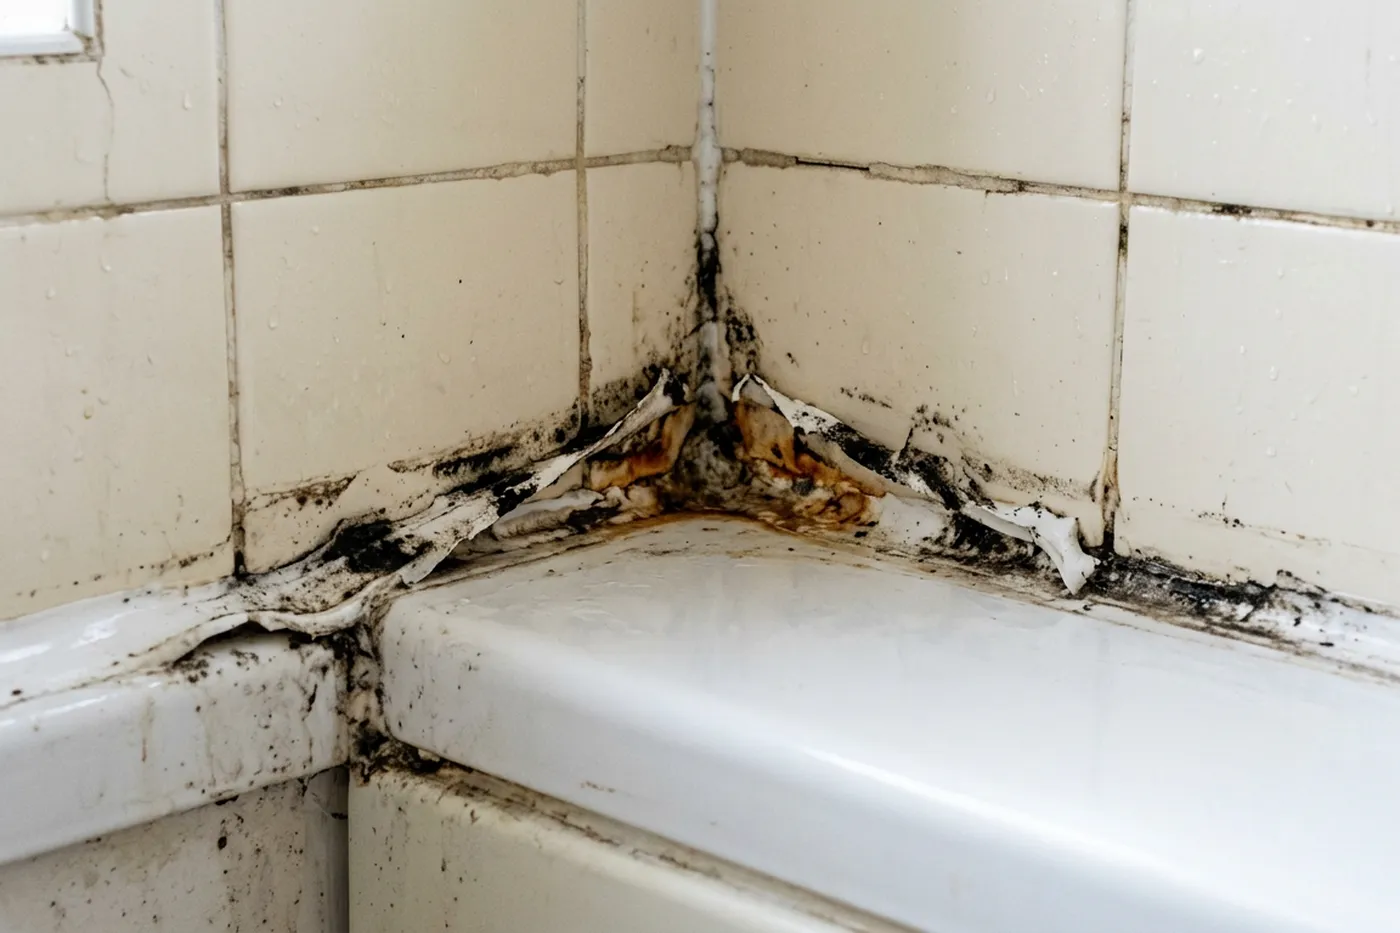
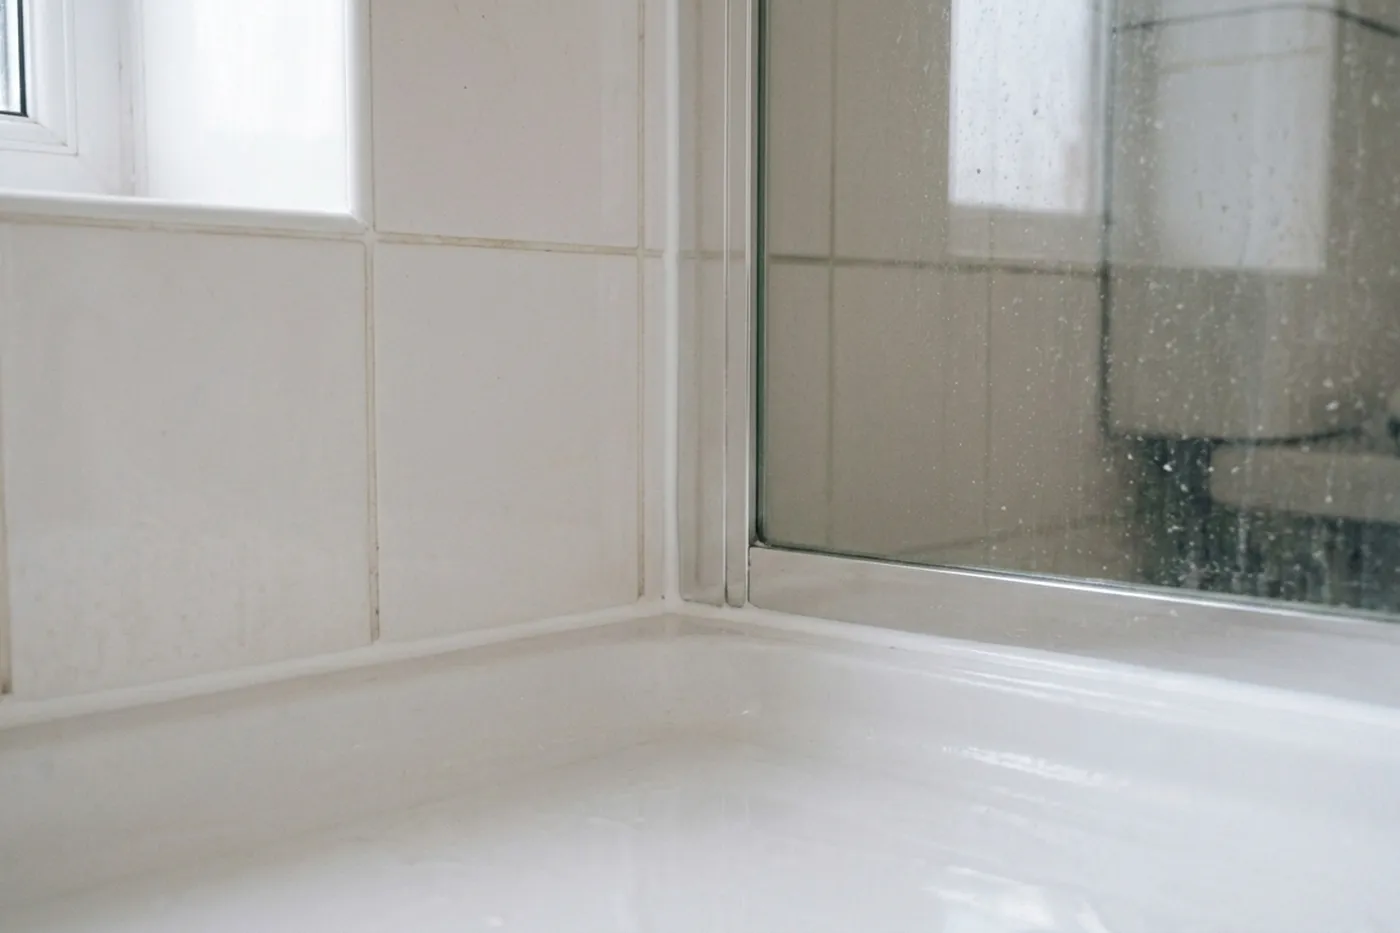
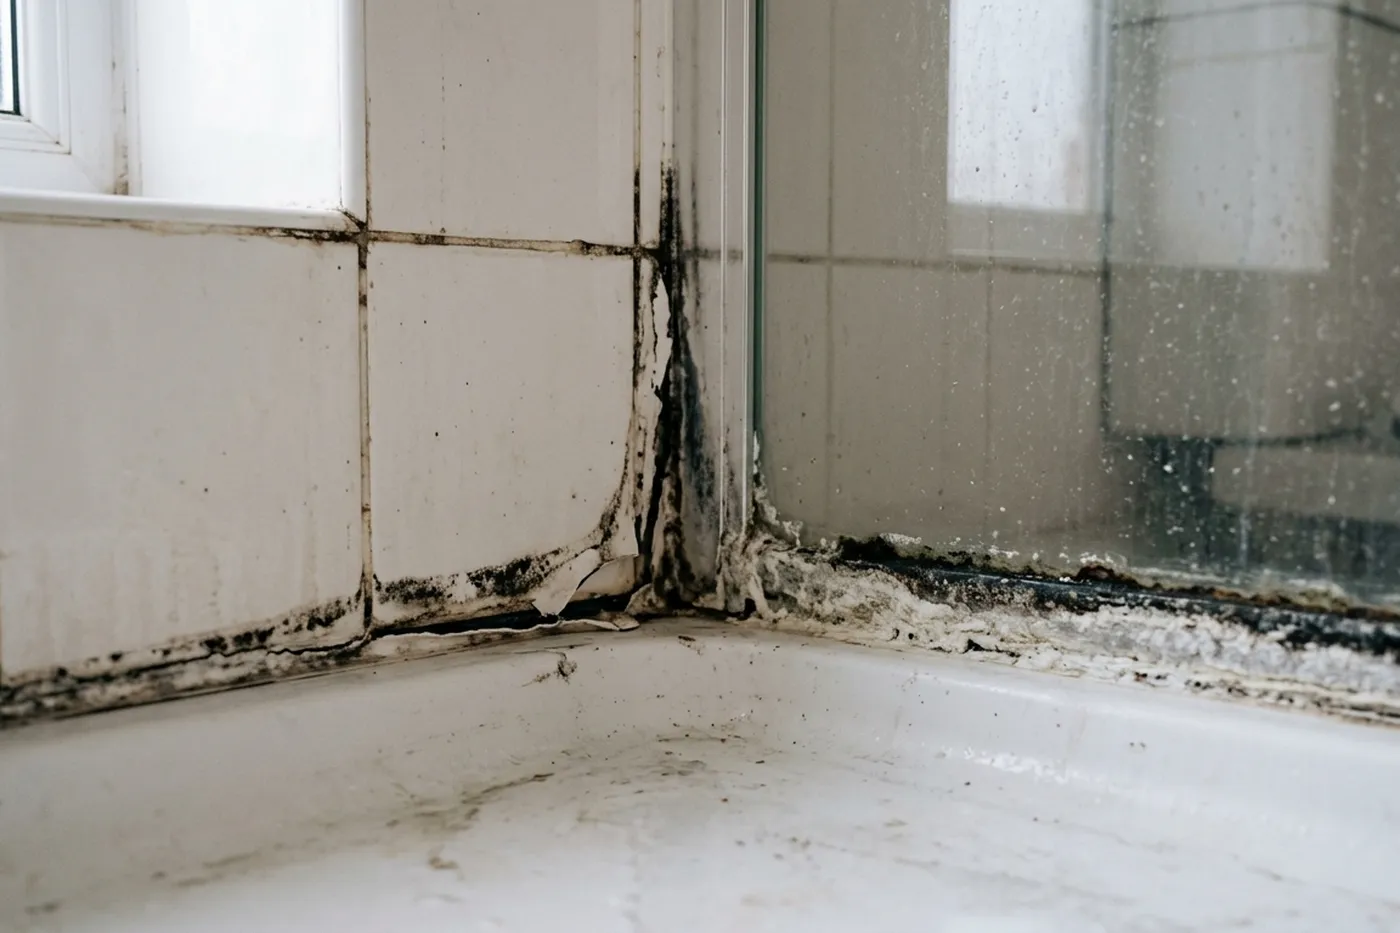
The pairs below are illustrations, generated the same way as every other photograph on this site. Each one shows the same joint in two states from the same camera position, which is what makes them useful, and none of them is a customer's bathroom.
Real job photographs are taken on every booking, before and after, and they go to whoever booked the work. They will replace these as the diary fills, and when they do the caption will say which town and which month. Until then this page says what it is rather than implying something it is not.
A bath joint at the tap end
The failure almost always starts where the bath meets the wall at the tap end, because that corner stays wet longest. By the time the black shows along the whole run, the bead has usually been lifting at that one corner for a year.
A shower corner and tray edge
The vertical internal corner takes running water down two planes at once and never sees moving air, so it is the joint in a bathroom that dries slowest. It is also the one most often sealed flat rather than concave, which leaves it holding a bead of water after every shower.
The middle
The stage nobody photographs
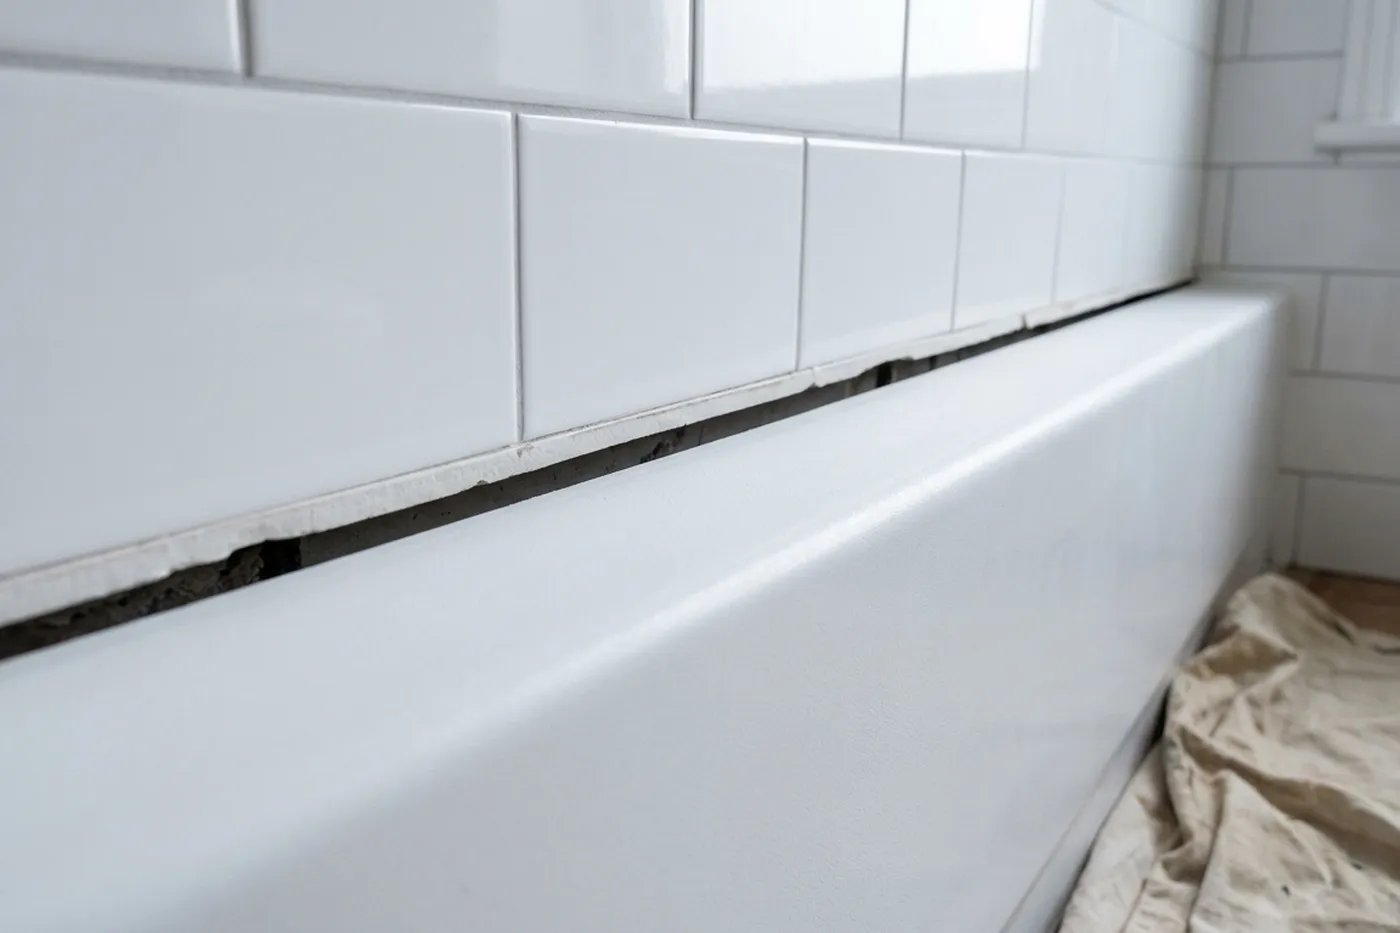
Every layer off, down to bare tile and bare acrylic. If a joint has been sealed three times this is most of the visit, and it is the only moment you can see that the old material has gone rather than been covered.
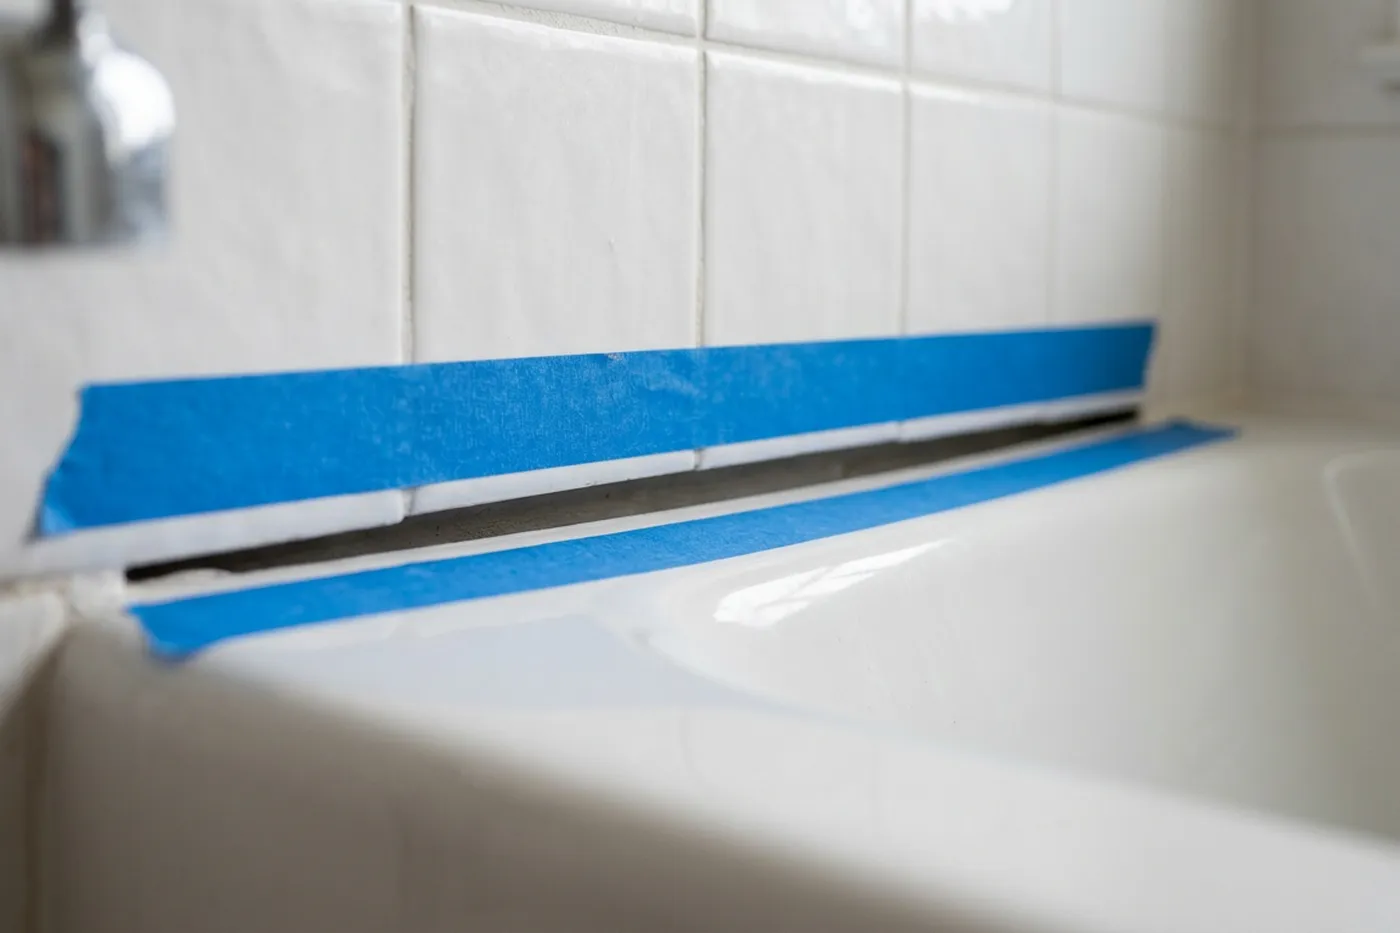
Low-tack tape either side of the joint, set to the width the finished bead should be. That is what makes a line straight, not a steady hand, and it is why the tape comes off while the silicone is still wet.
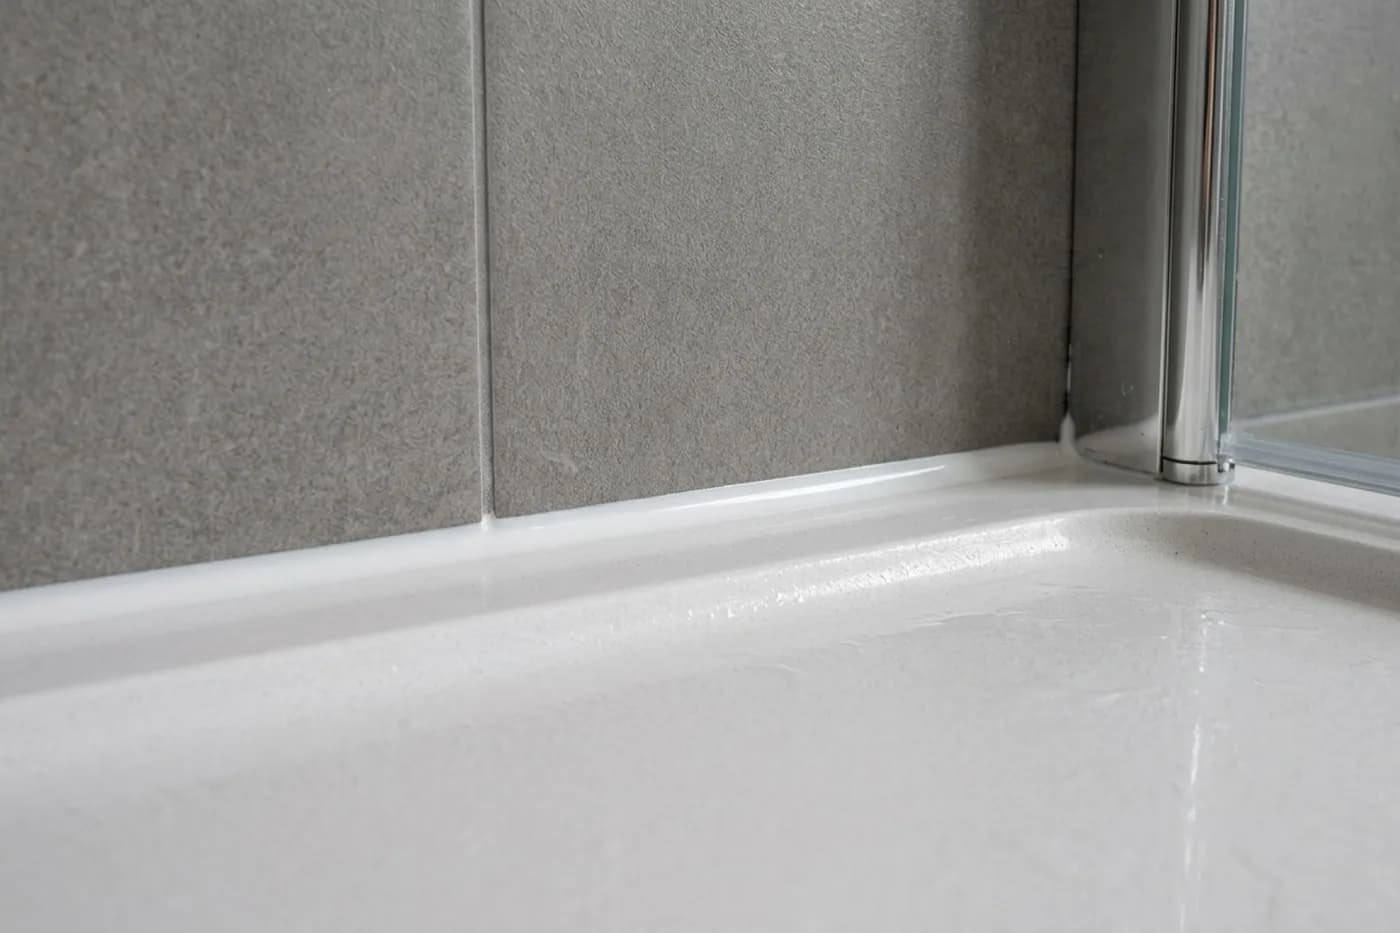
The finished bead is a hollow rather than a flat band or a shoulder, so water runs off it instead of sitting on it. A joint that stays wet an hour longer each day is the joint that goes black first.
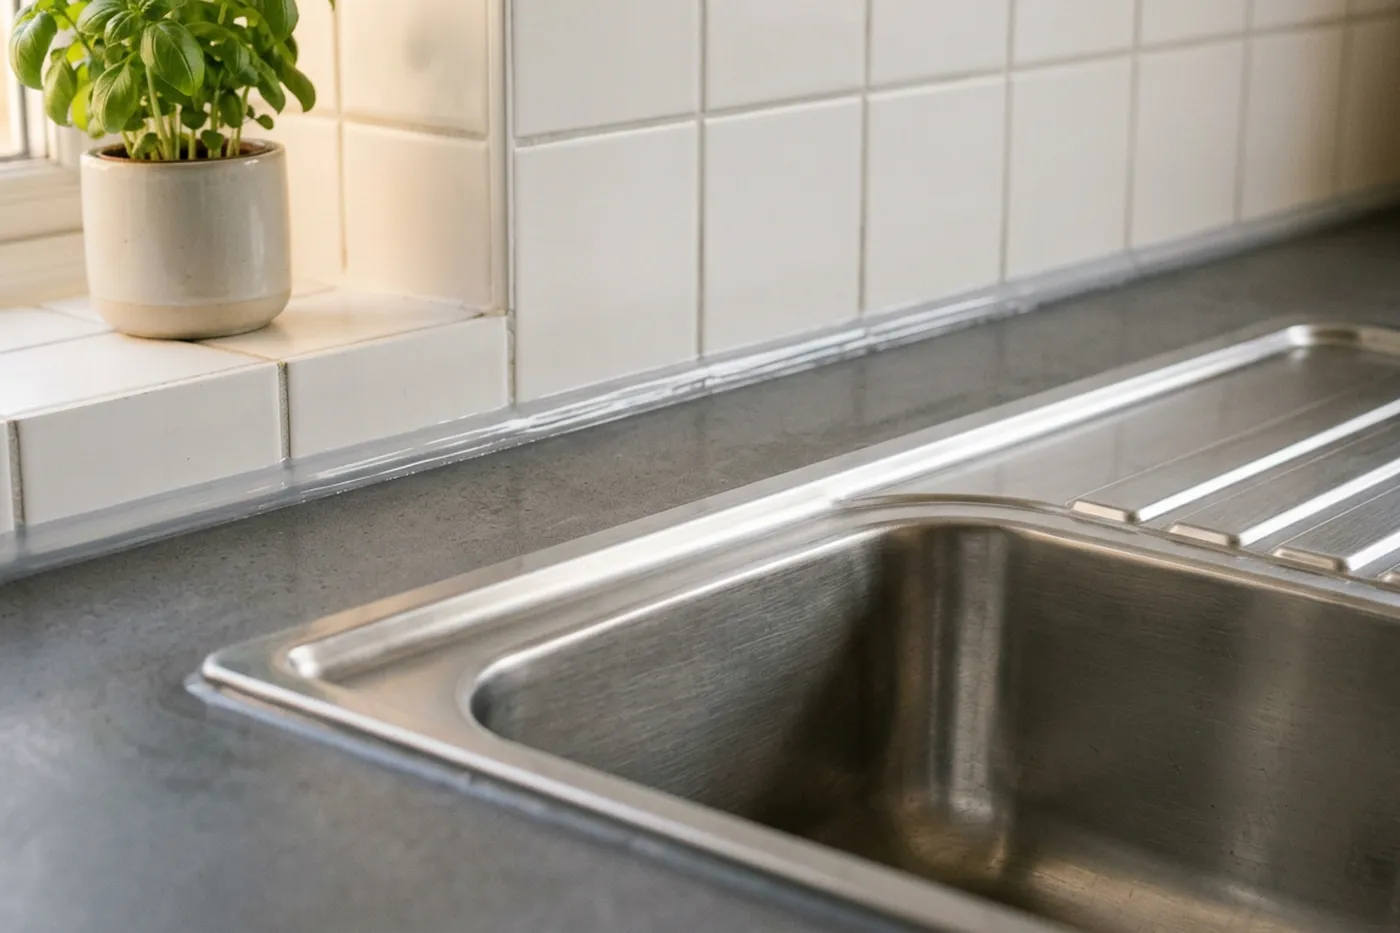
Same method, different material. A worktop run takes a degrease before the solvent wipe, because silicone will not bond through cooking grease any more than it will through soap.
Get a price
Book a reseal with Exeter Silicone Services
Send a photograph of the joint and say which fittings need doing. Back comes the price off the published card and the next free slot. Ringing is quicker if you want a date fixed today.
- Bath or shower
- £95
- Both on one visit
- £150
- Whole bathroom
- £185
VAT and silicone included. Minimum charge £95.